- Chinese
- French
- German
- Portuguese
- Spanish
- Russian
- Japanese
- Korean
- Arabic
- Irish
- Greek
- Turkish
- Italian
- Danish
- Romanian
- Indonesian
- Czech
- Afrikaans
- Swedish
- Polish
- Basque
- Catalan
- Esperanto
- Hindi
- Lao
- Albanian
- Amharic
- Armenian
- Azerbaijani
- Belarusian
- Bengali
- Bosnian
- Bulgarian
- Cebuano
- Chichewa
- Corsican
- Croatian
- Dutch
- Estonian
- Filipino
- Finnish
- Frisian
- Galician
- Georgian
- Gujarati
- Haitian
- Hausa
- Hawaiian
- Hebrew
- Hmong
- Hungarian
- Icelandic
- Igbo
- Javanese
- Kannada
- Kazakh
- Khmer
- Kurdish
- Kyrgyz
- Latin
- Latvian
- Lithuanian
- Luxembou..
- Macedonian
- Malagasy
- Malay
- Malayalam
- Maltese
- Maori
- Marathi
- Mongolian
- Burmese
- Nepali
- Norwegian
- Pashto
- Persian
- Punjabi
- Serbian
- Sesotho
- Sinhala
- Slovak
- Slovenian
- Somali
- Samoan
- Scots Gaelic
- Shona
- Sindhi
- Sundanese
- Swahili
- Tajik
- Tamil
- Telugu
- Thai
- Ukrainian
- Urdu
- Uzbek
- Vietnamese
- Welsh
- Xhosa
- Yiddish
- Yoruba
- Zulu
- Kinyarwanda
- Tatar
- Oriya
- Turkmen
- Uyghur

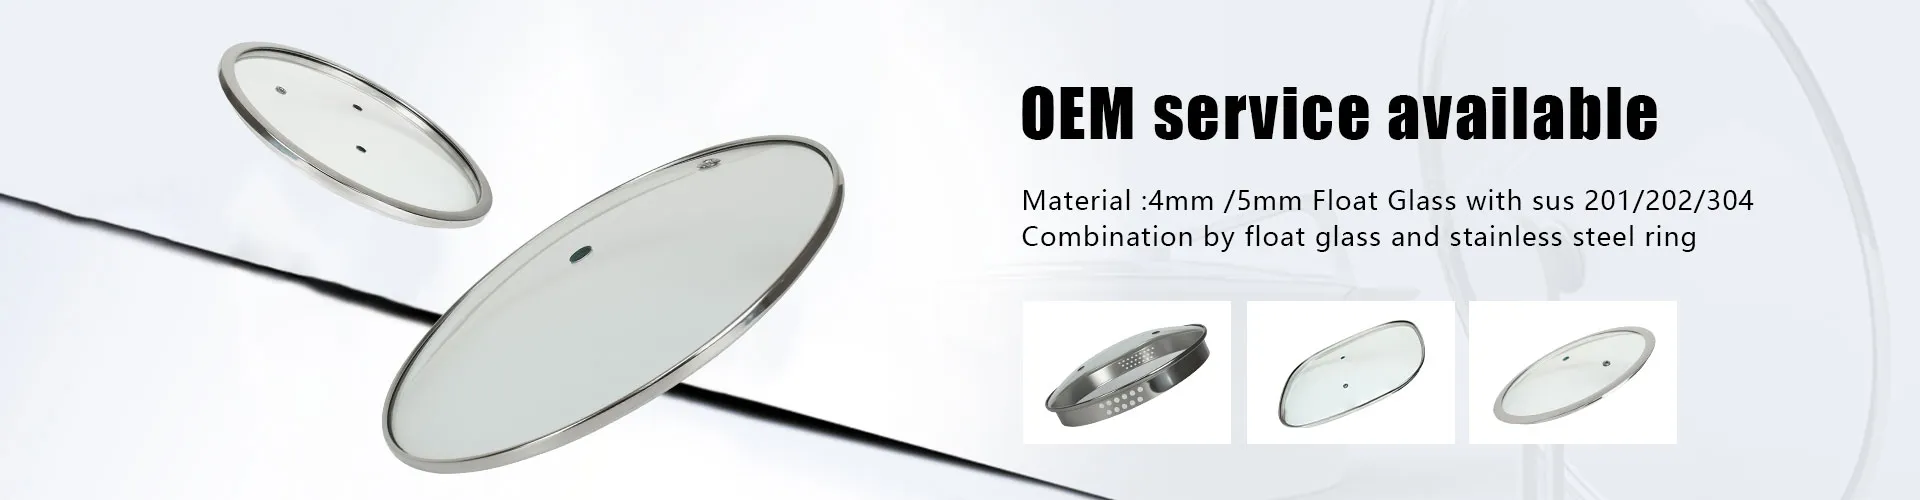
Glass Lid Manufacturing Explained: From Raw Glass Sheet to Finished Lid
2026-11-04
If you source cookware components, design kitchen products, or audit supplier capabilities, glass lid manufacturing is a process that directly impacts product quality, safety compliance, and after-sales defect rates. Many buyers evaluate glass lids only by appearance and price, yet differences in raw glass sheet grade, edge finishing, and tempering control create huge gaps in real-world durability and safety performance. A glass lid does more than cover a pot: it retains heat, lets users monitor cooking progress, and must withstand thermal shock, mechanical impact, and repeated daily cleaning. Its final performance is determined long before final assembly, starting with material selection and carrying through every machining, thermal treatment, and quality control step. This guide walks through the full tempered glass lid manufacturing workflow — from raw glass sheet to finished cookware lid — to give product engineers and technical procurement teams a clear, process-level understanding of how quality is built.
Overview of the Glass Lid Manufacturing Workflow
Commercial glass lid production follows a sequential, quality-gated workflow. Each stage builds on the previous one, and mistakes in early steps are difficult or impossible to correct later. The high-level sequence is:
- Raw glass sheet selection and incoming inspection
- CNC cutting, edge polishing, and hole drilling
- Tempering process (or annealing for non-safety grades)
- Edge wrapping, silicone gasket, and handle/knob assembly
- Final dimensional, visual, and safety inspection
- Cleaning, protective packaging, and shipment
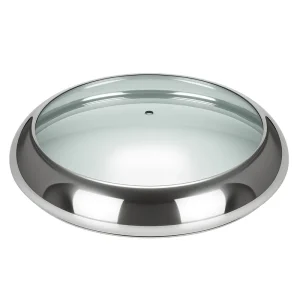
Most cookware lids on the market fall under tempered glass lid manufacturing, as tempered glass delivers the mandatory safety performance for household and commercial cooking environments. Annealed glass lids exist for low-heat, low-risk applications but are far less common for mainstream cookware. The rest of this guide focuses primarily on the tempered production route.
Raw Material Selection: Choosing the Right Glass Sheet
The glass sheet is the foundational blank for every glass lid. Material choice sets baseline thermal resistance, cost, weight, and breakage behavior before any machining begins. Two glass families dominate cookware lid production: soda-lime glass and borosilicate glass. Thickness is a second critical variable, with the 4mm thickness glass lid being the industry default for standard pots and pans.
Soda-Lime Glass vs Borosilicate Glass for Glass Lids
Soda-lime glass is the standard material for most tempered glass lids. It is made from silica, soda ash, and lime, offering balanced clarity, affordable raw material costs, and good mechanical strength after tempering. Its main limitation is thermal shock resistance: rapid swings from high heat to cold water can trigger breakage, even after tempering. Soda-lime tempered lids work well for most stovetop, electric, and moderate-temperature cooking scenarios.
Borosilicate glass uses boron oxide as a key ingredient, which drastically lowers thermal expansion. This gives borosilicate superior resistance to sudden temperature changes. It is preferred for high-heat applications, oven-safe cookware, and products marketed for heavy-duty use. The tradeoffs are higher raw material cost and different machining and tempering requirements.
Note: Borosilicate lid production line capability – TO BE VERIFIED
Glass Sheet Thickness and the Common 4mm Thickness Glass Lid Specification
Glass sheet thickness directly impacts rigidity, weight, impact resistance, and thermal transfer. The 4mm thickness glass lid represents the sweet spot for mass-market cookware: stiff enough to resist bending under normal use, light enough for comfortable handling, and economical at scale.
Thinner sheets (typically 3mm) reduce material cost and lid weight but are more prone to deflection and edge chipping. Thicker options, such as 5mm or 6mm, add impact strength and a premium feel, but increase weight, raise material expense, and can change heat transfer behavior at the pot rim. Thicker glass may also require adjusted machining and tempering process parameters.
Shaping and Machining: Cutting, Edge Finishing and Tempering Process
A raw glass sheet cannot be used directly as a lid. It must be cut to the target diameter or custom shape, finished to remove sharp microcracks, drilled for hardware mounting, and then thermally treated. All precision machining happens before tempering, because a tempered glass sheet cannot be safely cut or drilled after the tempering process completes.
CNC Cutting, Polishing and Drilling of Glass Sheets
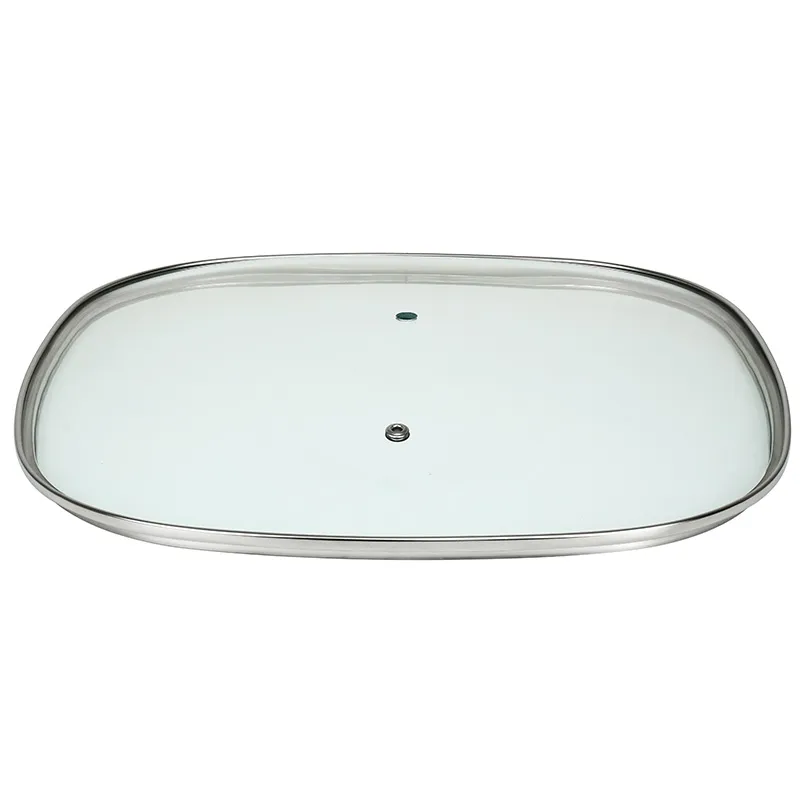
CNC cutting is the standard method to cut glass sheet blanks to the required lid profile. It supports both standard circular lids and custom oval, rectangular, or contoured shapes for specialty cookware. After cutting, the raw edges are sharp and filled with microscopic fractures. These hidden flaws act as failure points, so polishing is non-negotiable.
Edge polishing progresses in stages: rough grinding removes major chips and sharp edges, followed by fine polishing to create a smooth, continuous edge surface. For lids requiring a knob or central handle, precision drilling creates a clean mounting hole. Drilling is controlled carefully to avoid concentric cracking around the hole, which is a frequent source of early failure. Once cutting, polishing, and drilling are complete, the blank moves to thermal treatment.
Tempering Process for Tempered Glass Lids
The tempering process transforms ordinary annealed glass into safety glass. The principle relies on controlled heating followed by rapid, uniform cooling. This creates a stable compressive stress layer across the glass surface and tensile stress in the core. This internal stress profile raises impact resistance and changes breakage behavior.
When tempered glass fails, it shatters into small, dull granular fragments instead of the long, razor-sharp shards typical of annealed glass. This fracture behavior is the core safety advantage for cookware applications. It is worth noting that tempering strength is not infinitely scalable: excessive surface stress can raise the risk of spontaneous breakage, so balanced process control is more important than pursuing maximum stress values.
Note: Exact tempering temperature curve and factory tempering control standards – TO BE VERIFIED
Annealed glass skips this rapid quench step. It is softer, easier to modify after production, and cheaper, but it does not offer the same safety profile. It is only suitable for low-temperature, low-impact applications.
Edge Treatment and Accessory Assembly
Once glass tempering is finished, the rigid glass blank is ready for secondary assembly. Most commercial lids combine the glass with one or more accessories: stainless steel rim wrapping, silicone gaskets, and heat-resistant knobs or handles. Assembly must avoid introducing new stress points on the tempered glass.
Stainless Steel Rim Wrapping
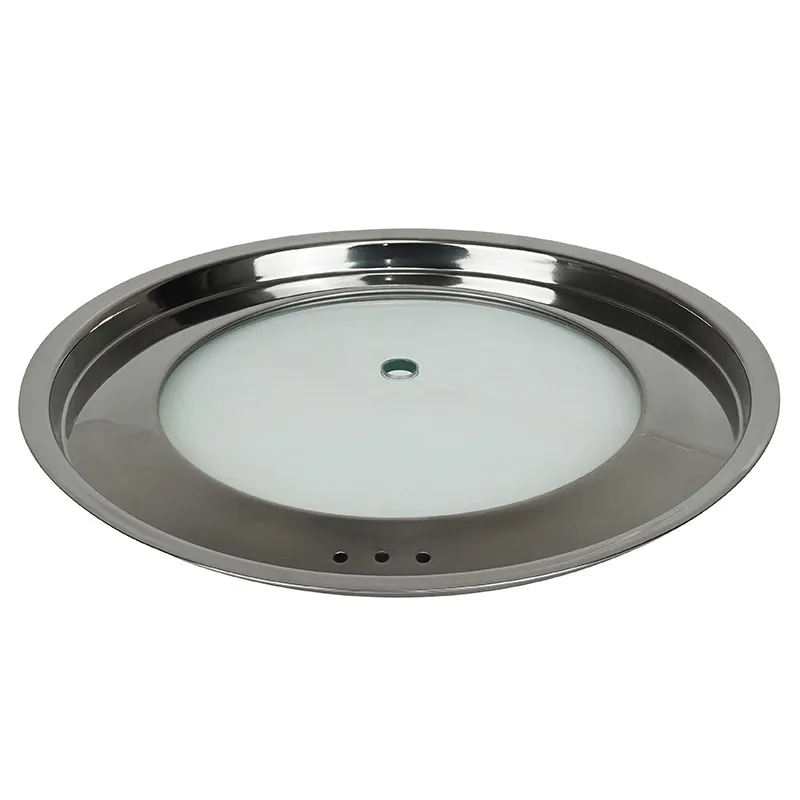
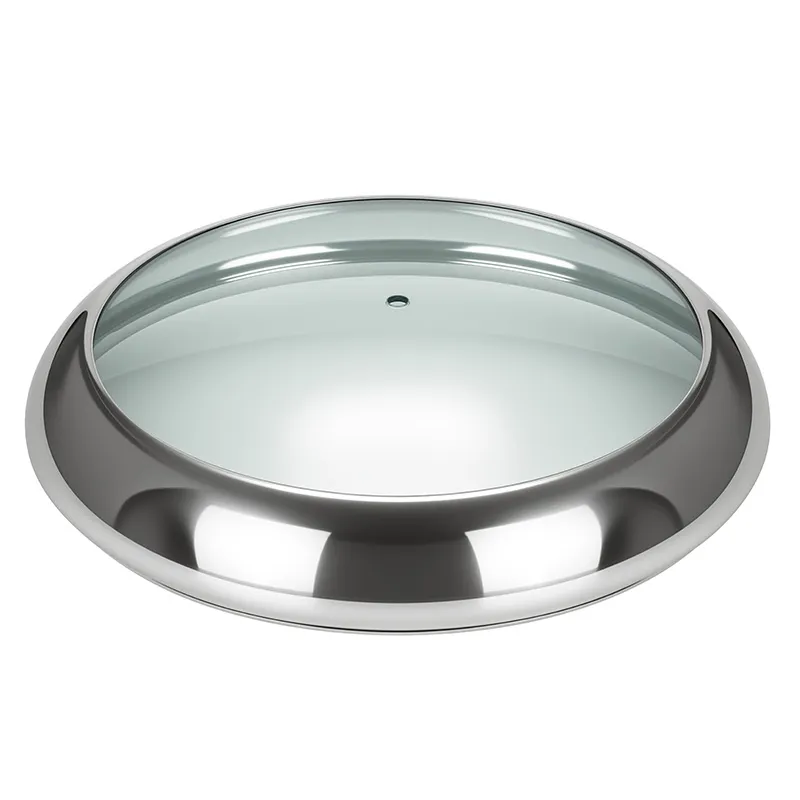
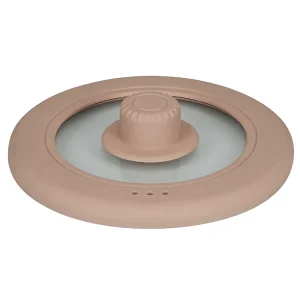
Stainless steel rim wrapping fits a formed metal band around the outer edge of the glass lid. The rim serves multiple practical purposes: it protects the polished glass edge from impact chipping during handling and stacking, hides minor cosmetic edge imperfections, and improves alignment when the lid sits on the pot. Rimmed lids often feel more premium and hold up better in logistics and retail environments. Unwrapped lids are common for simpler, lower-cost product lines.
Silicone Gasket Installation
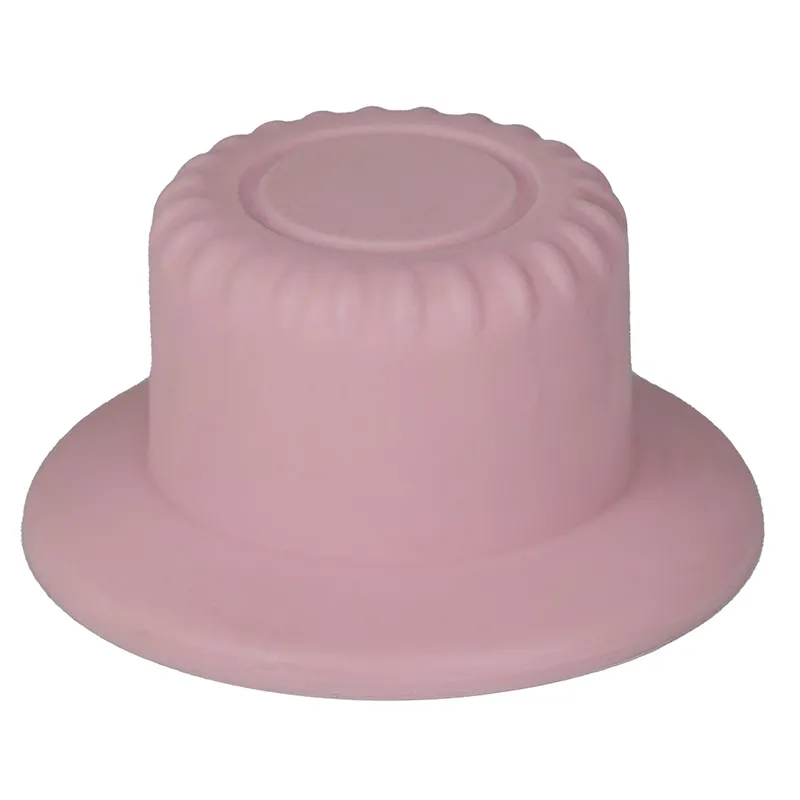
Silicone gaskets fit either under the stainless rim or as a separate ring. Food-grade silicone creates a soft buffer between the glass lid and metal cookware rim. It reduces clanging noise, improves sealing for moisture retention, and prevents direct metal-to-glass contact that could scratch or chip the glass. Gasket selection focuses on heat resistance, food contact compliance, and resistance to repeated cleaning and grease exposure. Poorly fitted gaskets may slip, warp, or discolor over time.
Handle and Knob Fitting
Glass lids use two common hardware formats: a central knob (single-point grip, the most widespread design) and a full-length side handle (for larger, heavier lids). Both are mounted through the pre-drilled central hole.
Hardware must withstand sustained stovetop heat without melting or transferring excessive heat to the user’s hand. Common knob materials include heat-resistant plastic, phenolic resin, and solid metal. Fastener design is critical: loose knobs are a top customer complaint. Assemblers apply controlled torque to secure the hardware without over-tightening, which can concentrate stress around the hole and cause spontaneous breakage.
Quality Inspection and Final Packaging
Inspection runs through every stage of glass lid manufacturing, but the final inspection station validates that the finished unit meets all requirements before packing. Standard checks cover:
- Visual inspection: scratches, bubbles, chips, polishing defects, discoloration
- Dimensional check: diameter, flatness, hole position, rim fit
- Assembly audit: knob torque, gasket seating, rim alignment
- Safety sampling: periodic fracture testing of tempered samples to verify correct tempering performance
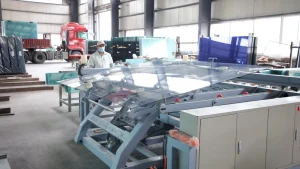
After inspection, approved lids are cleaned to remove dust and residual machining debris. They are separated with protective interleaving materials and packed into cartons to prevent edge damage in transit.
Note: Internal factory inspection specification details – TO BE VERIFIED
How Manufacturing Choices Affect Final Glass Lid Performance
The table below provides a qualitative comparison of typical industry performance levels. Exact values vary by manufacturer process control and raw material grade, but the relative tradeoffs remain consistent across standard glass lid manufacturing lines. It gives engineers and procurement teams a quick reference for specification tradeoffs.
| Variable | Thermal Shock Resistance | Impact Safety | Weight | Relative Cost |
|---|---|---|---|---|
| Soda-lime, tempered, 4mm | Moderate | High | Medium | Low-Medium |
| Borosilicate, tempered, 4mm | Excellent | High | Medium | High |
| Soda-lime, annealed, 4mm | Moderate | Low | Medium | Low |
| Soda-lime, tempered, 5mm | Moderate | Higher | Heavier | Medium |
| Soda-lime, tempered, 3mm | Moderate | Lower | Lighter | Low |
The biggest takeaway: material sets thermal limits, thickness changes mechanical robustness, and tempering status defines safety performance. Edge finishing and hardware quality control mostly affect long-term usability and defect rates rather than core glass strength.
Note: Precise thermal shock rating ranges for borosilicate vs soda-lime – TO BE VERIFIED
Frequently Asked Questions About Glass Lid Manufacturing
Can tempered glass lids be cut or drilled after tempering?
No. The tempering process locks in internal stress across the glass. Any cutting, drilling, or heavy grinding after tempering disrupts that stress balance and will almost always cause immediate shattering. All shaping and hole work must be completed on the glass sheet before the tempering process.
What is the difference between annealed glass lid and tempered glass lid?
Annealed glass cools slowly after forming and has no engineered surface compression. When it breaks, it creates sharp, dangerous shards. Tempered glass goes through rapid quenching, creating controlled compressive stress on the surface. It breaks into small, blunt particles, making it the safe default for cookware.
Is a 4mm thickness glass lid suitable for high-heat cookware?
A 4mm thickness glass lid is the standard for most stovetop cookware. If the product will regularly see extreme thermal cycling, oven use, or rapid cold splash exposure, borosilicate material is a more reliable choice, even at the same 4mm thickness.
Are borosilicate glass lids stronger than tempered soda-lime lids?
Not in raw impact strength. Properly tempered soda-lime glass can achieve comparable impact resistance. Borosilicate’s main advantage is far better thermal shock resistance, not inherently higher impact toughness.
What causes spontaneous breakage of glass lids?
Spontaneous breakage usually traces back to one of a few root causes: hidden microcracks left after cutting or polishing, over-torqued knob fasteners creating concentrated stress, nickel sulfide inclusions in soda-lime glass, or sudden extreme thermal shock. Good process control and incoming glass sheet screening reduce this risk.
Conclusion
Glass lid manufacturing is a sequential chain of material selection, precision machining, controlled thermal treatment, and accessory assembly. Starting with the base glass sheet, every step — CNC cutting, edge polishing, tempering, rim wrapping, and hardware fitting — shapes the safety, service life, and daily user experience of the finished lid.
For product engineers and procurement teams, the core decision framework follows a clear order:
- Define the use case first: maximum cooking temperature, thermal cycling frequency, and oven compatibility requirements.
- Select the glass material: soda-lime for balanced cost and performance, borosilicate for high thermal shock demands.
- Specify thickness: the 4mm thickness glass lid remains the default for most stovetop cookware; adjust up or down based on lid size and durability targets.
- Audit process controls: edge finishing quality and tempering consistency are the strongest predictors of field failure rates.
A 4mm tempered soda-lime lid delivers reliable performance for most standard pots and pans, while borosilicate is the logical upgrade for high-heat, oven-rated product lines. When evaluating suppliers, reviewing their in-process controls for edge finishing and tempering uniformity is often more informative than comparing upfront material costs alone.If you are developing custom cookware and need to align glass lid specifications with your product requirements, you can contact our technical team to share your performance targets for further review.